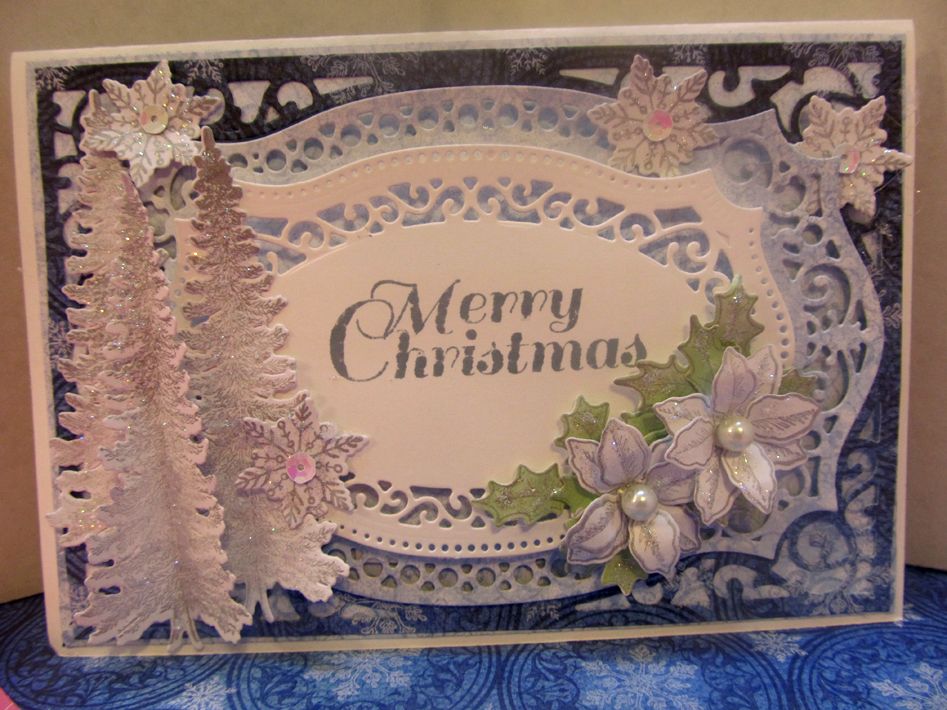
Ok...so one more! just one more Christmas card...for now. lol This card as the one before I made using the Spellbinder labels 25. Love these dies, I think they are sooo darn pretty!! Anyway...used the same color combo as last week, but the orientation is different and I used an additional die layers plus the TREES! no tress last week... these trees are so fun to work with...I know I keep saying that but they are. I had lost my mojo there for a while, but having papers, stamps and dies in a theme, make creating easy. I am also a new sequin addict! I added them to the snowflake centers. Tell me what you think....See the sequins? In person, this card is really sparkly...

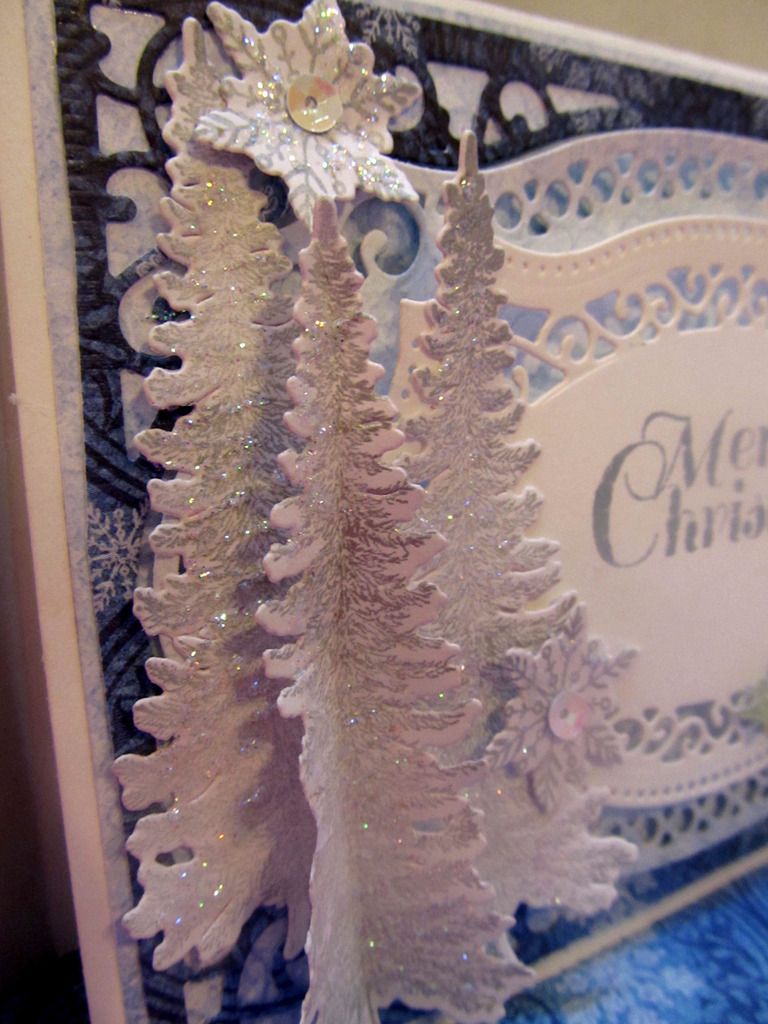
The tree you see there up front, i folded in half and glued it on the crease so there is a lot of dimension on this card.
Here are the instructions:
HCD1-7106 Die [for Poinsettia]
HCPC-3747 Cling Stamps Celebrate the Season
HCPC-3749 Cling Stamps Snow Kissed Spruce
HCD1-7107 Die
HCD1-7109 Die
HCPC-3748 Cling Stamp gift wrapped presents
Designer paper "Snow Kissed"
Spellbinders Nestabilities "Majestic Labels twenty-five", Stickles "Star Dust", glass beads, Color Box stamp pad "Silver", white card stock, Copic marker G21 Lime Green, Iridescent sequins,
Cut a piece of white card stock 6 3/4 x 9 and fold it in half to make the card base.
 Cut one set of each of the decorative layers from the Spellbinders dies.
 Stamp Merry Christmas on one of the die cut pieces.
Stamp 3 of the medium spruce trees, enough poinsettias to make 2 flowers with leafs, and 4 of the small snowflakes with the Silver stamp pad. Stickles the trees and snowflakes.
Put the flower together, color the leafs with the lime green Copic marker, add the glass beads and stickles.
Layer all the die cut pieces on the card base.
Arrange the flowers on one end of the card and the trees on the other.
Glue snowflakes all around the card and add the sequins in the center to make them sparkle.
Stamp a sentiment on the inside of the card and add a few snowflakes on the each corner.
you can get all these awesome products at : Heartfelt Creations < click that... go have fun shopping!
Thanks you so much for stopping by...
and as always...


No comments:
Post a Comment
Thank you so very much for taking the time to comment!! xoxo